Introduction: Why Make T Shirts at Home Using Screen Printing
Making your own custom shirts may seem like a big task, but screen printing is simpler than you might think. Many creators choose this method because it’s durable, cost-effective, and fun to learn. Most importantly, when you make t shirts at home, you gain total control over the design process. Instead of settling for mass-produced tees, you can personalize every aspect—from color choices to placement of your artwork.
Screen printing also has a major presence in the global apparel market. In fact, the custom T-shirt printing market reached a value of over USD 5 billion in 2024 and continues to grow at double-digit rates. Over half of that market is driven by screen printing, proving that this traditional method remains a favorite among do-it-yourself enthusiasts and professional print shops alike. The ability to make t shirts that stand out is driving people around the world to give home screen printing a try.
Essential Supplies to Make T Shirts
Before you dive into the actual printing process, it’s crucial to gather the right tools. When you make t shirts at home using screen printing, remember that quality equipment ensures both ease of use and professional-looking results. Here are some items you’ll need:
- Screen and Frame: The screen is a fine mesh—often polyester—stretched tightly on a frame. You coat it with photosensitive emulsion and then “burn” your design onto it using ultraviolet light.
- Squeegee: This handheld tool pushes ink through the mesh openings of your stencil and onto the T-shirt.
- Screen Printing Ink: Choose inks specifically formulated for fabric printing. Water-based inks are popular among home printers because they’re easier to clean and more eco-friendly.
- Emulsion and Emulsion Remover: Emulsion is a photosensitive liquid applied to the screen. You use an emulsion remover to clean the screen and reclaim it for future designs.
- Drying Station or Heat Source: A flash dryer or heat gun helps you “cure” the ink, making your design permanent and wash-friendly.
If you’re looking for a one-stop shop, Ryonet and Texsource, Inc. are known for providing high-quality entry-level kits. Companies like M&R Printing Equipment and Anatol Equipment Manufacturing Co. specialize in professional-grade presses if you’re aiming for a more robust setup. Regardless of which brand you choose, always read reviews and consider your long-term goals before investing in a screen printing press.

Step-by-Step Guide: How to Make T Shirts with Screen Printing
The process to make t shirts with screen printing includes several steps: preparing your artwork, creating the stencil, printing, and finally curing the ink. By following the instructions carefully, you’ll be able to produce high-quality tees that look like they came from a professional print shop.
Step 1: Develop or Select Your Design
Create a unique image or slogan you want on your T-shirt. If you prefer designing from scratch, Adobe Illustrator or CorelDRAW Graphics Suite offer robust tools for vector graphics. If you need color separations for multi-color designs, specialized software such as Separation Studio can simplify the process. Prefer a free option? Inkscape is an open-source vector editor that’s perfect for beginners.
Step 2: Prepare the Screen and Emulsion
Next, apply a thin layer of emulsion to your screen. This liquid hardens when exposed to UV light, creating a stencil that lines up perfectly with your design. Let the screen dry in a dark space—exposure to light at this stage can damage the emulsion. Once it’s dry, place the printed design (on transparent film) against the screen. Expose the setup to UV light according to the emulsion’s instructions. The unexposed areas (where your design lies) stay soft, while the rest hardens. Rinse away the soft parts, and you’ll have a crisp stencil of your artwork.
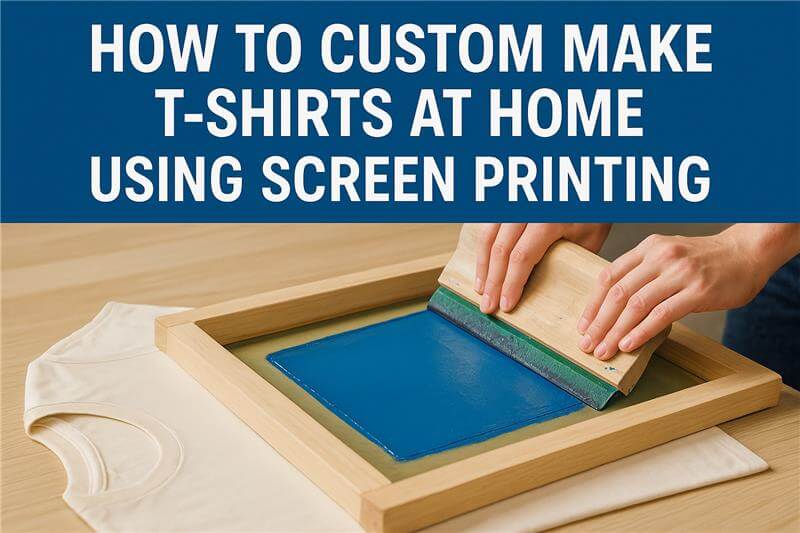
Step 3: Align and Print
Position the screen firmly over your T-shirt, making sure the stencil is exactly where you want the print to appear. Add a small amount of screen printing ink just above the stencil and use your squeegee to pull the ink down across the screen. For strong, even coverage, use firm and consistent pressure. If your design requires multiple colors, you will need separate screens for each hue. Proper “registration”—the precise alignment of each color—is key to a professional final look.
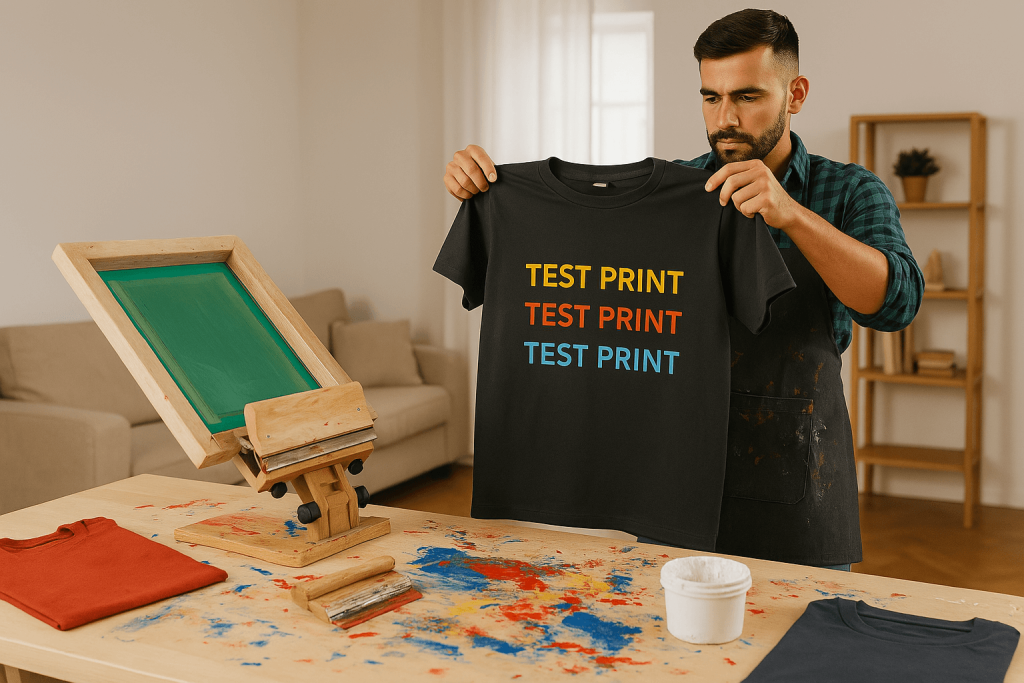
Step 4: Cure Your Design
Once you’re done printing, the ink is still wet. You need to cure—or set—the ink using heat. A flash dryer is the industry standard, but a heat gun or conveyor dryer also works well for home use. The main goal is to bring the ink to the correct curing temperature so it becomes permanent and wash-safe. For many types of ink, this temperature ranges between 320°F and 330°F. Double-check your ink’s instructions for exact specifications.
Step 5: Clean Up and Reuse
After printing, wash and dry the screen thoroughly. If you want to reuse the same design later, keep your stencil intact. Otherwise, use emulsion remover to strip the screen, reclaiming it for new designs. Cleaning up promptly helps your tools last longer, cuts down on mess, and keeps your creative space organized.
Creative Trends: Ways to Make T Shirts That Stand Out
With your screen printing foundation established, it’s time to unleash your creativity. People around the globe make t shirts that reflect current fashions and their individual flair. Here are some popular trends to spark your imagination:
- Minimalist Graphics: Simple shapes, clean lines, and muted color palettes never go out of style. This modern aesthetic allows your design or message to stand out without overwhelming the viewer.
- Retro Sportswear: Vintage athletic style is more than just for jerseys. Incorporate old-school lettering or distressed effects for a classic sports vibe—especially trendy if you’re a fan of retro soccer or basketball designs.
- Y2K Throwbacks: Early 2000s aesthetics are making a comeback, featuring metallic highlights, holographic patterns, and digital-inspired elements. These bold details can breathe new life into any T-shirt design.
- AI-Driven Artwork: Some screen printers use AI tools for generating fresh ideas or quickly automating color separation. This is an emerging trend that promises to simplify the process, especially for beginners who want to experiment with complex designs.
Keeping an eye on style movements can guide you in choosing the colors, fonts, and motifs that resonate with modern tastes. Whether you want to make t shirts to celebrate special events, showcase a personal brand, or just have fun, staying informed about design trends can help your creations stand out.
Conclusion: Bringing Your Designs to Life
Making T-shirts at home with screen printing is an exciting journey that combines artistic freedom and hands-on craftsmanship. It also connects you to a vast community of custom apparel enthusiasts—both individuals and businesses—who value quality and personal expression. The U.S. alone generated over USD 857 million in custom T-shirt printing revenue in 2023, and the market is steadily growing worldwide. This upward trend means there’s no shortage of inspiration, technology, and resources to help you succeed.
If you’ve been wondering how to make t shirts that reflect your unique style, screen printing offers the perfect starting point. By investing in the right equipment, learning the basics of color separation and design, and exploring creative trends, you can produce shirts that look, feel, and wear like professional pieces. Whether you hope to launch your own small business or simply enjoy wearing your art, home screen printing lets you take ownership of every step in the process. Give it a try, and you’ll soon discover that making custom T-shirts isn’t just about clothing—it’s about crafting an identity, telling a story, and sharing a piece of yourself with the world.